Set up Multi-Factor Authentication (MFA)
In order to set up Multi-Factor Authentication (MFA), you will need:
- A computer, such as desktop/laptop PC or Macbook, which will be used to set up your MFA account
- A mobile device (mobile phone or tablet/iPad), which will be used to approve access
- Your university login details
There are two ways to approve authentication. This will depend on the device you have and your preferred method, as listed below:
Method 1: Approve access via text message
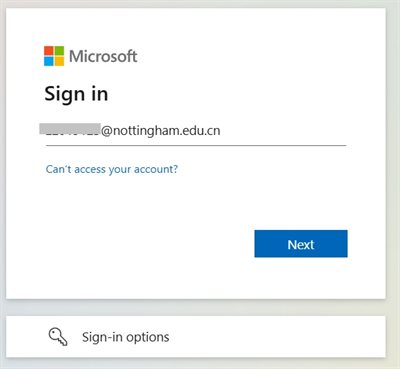
1. Visit the MFA configuration page via the link https://aka.ms/mfasetup
You will need to login using your university email address (username@nottingham.edu.cn) and password.
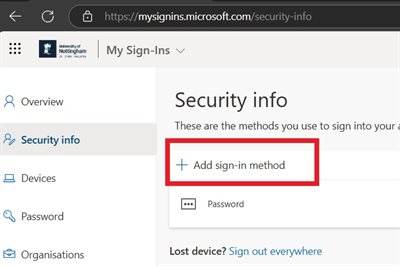
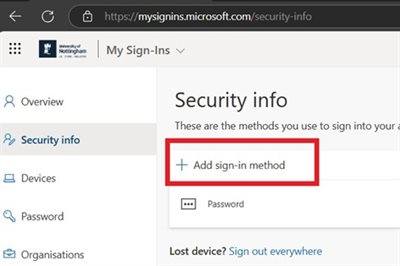
2. Then click ‘Add sign-in method’
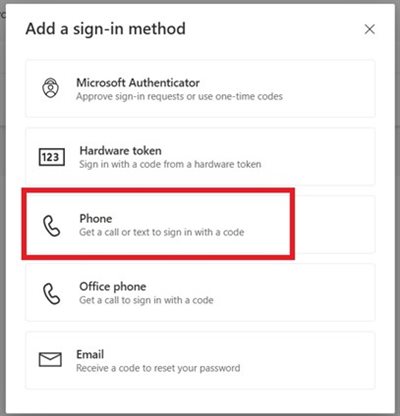
3. In the menu that appears, click the 'Phone' option in the list.
4. Now choose your phone country code (e.g., +86 for China) and enter your phone number.
5. Then click 'Next'.
6. Now enter the 6 digit code sent to your phone and click 'Next'.
7. You will then have a message saying "SMS verified. Your phone was registered successfully."
Method 2: Approve access via Microsoft Authenticator app
Follow the steps below in Part 1 and Part 2.
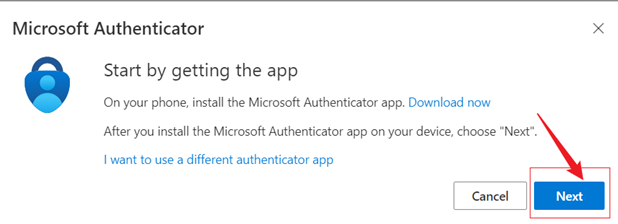
Part 1 - Install Microsoft Authenticator from your app store (on your mobile device)
You may first need to set up an account on the relevant app store in order to download the app.
Part 2 - Configure MFA (on your computer and mobile device)
Once the 'Microsoft Authenticator' app is installed on your mobile device, visit the MFA configuration page via the link https://aka.ms/mfasetup on your computer and then follow the steps below:
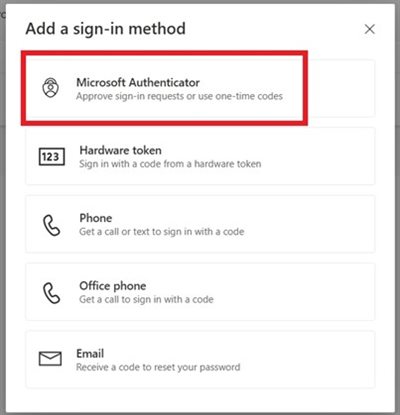
1. You will need to login using your university email address (username@nottingham.edu.cn) and password. Then click “Add sign-in method”.
2. Select “Microsoft Authenticator”
3. Click 'Next', a QR code will be displayed on-screen, scan it with the app and click 'Next'.
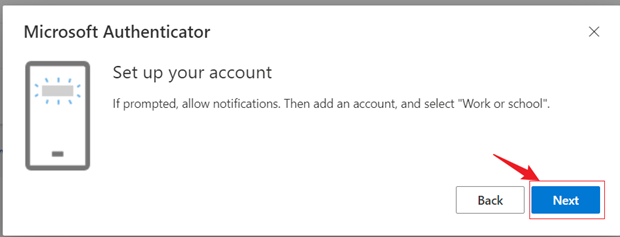

4. Open the Microsoft Authenticator app on your mobile device, if prompted, allow notifications. Then select the 'Scan QR code' option.
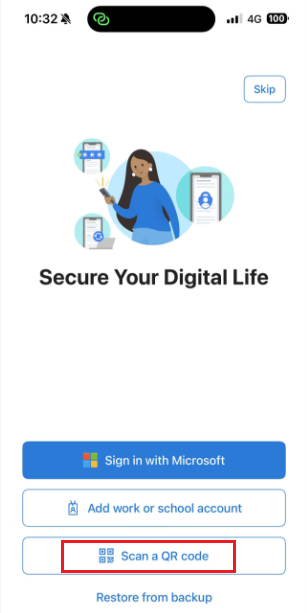
Note: You may be prompted to allow the app to access the camera on your mobile device. Please choose allow (or similar). If your camera isn't working properly, you can enter the QR code and URL manually.
5. An approval notification will be sent to your mobile device, approve this by entering the number shown on-screen into the app and select 'Yes'.
6. Once approved, click 'Next'. This completes the set up, click 'Done' to finish.
Top tip: when using MFA to approve sign in requests, we recommend having the app open and ready.
Note:
- MFA can be configured using either method. If possible, configure MFA with both text message and the Authenticator app as recommended.
- For international students, please prioritize using the Authenticator app as the preferred method for configuring MFA.
How to Reset MFA (Multi-Factor Authentication)
If you're unable to receive verification codes—due to a phone number change, new device, uninstalling Microsoft Authenticator, or similar issues—IT can help.
Please email itservicedesk@nottingham.edu.cn with the details below:
- A photo of your student or staff ID card for identity verification.
- An alternative email (e.g., QQ or Gmail) in case we can't reach your UNNC email after the reset.